| 3. Illustratorでトンボをつくる |
| ここからはIllustrator上での作業になる。ハガキの縦定型サイズ(左右100mm×天地148mm)の長方形をつくり、「フィルタ→クリエイト→トリムマーク」でトンボを作成する。
|
 |
|
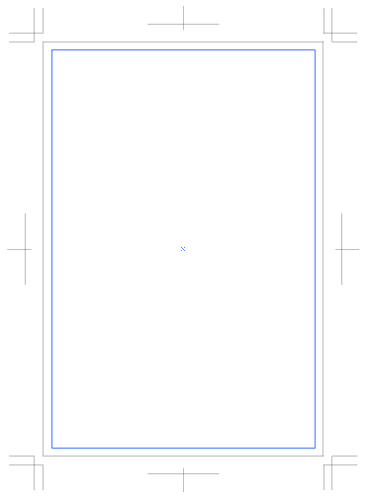
ハガキの縦定型サイズの天地左右3mm内側に印刷範囲のガイドを作成。
|
|
|
| 4.
文字組をつくる |
| イベントのタイトルや情報の文字組をつくっていく。文字の大きさや間隔のバランスに注意する。 |
|
|
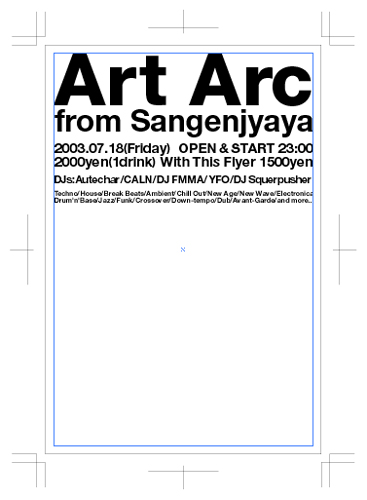
書体はHelvetica系でまとめたが、好みの書体も試してほしい。
この場合、左右の幅を合わせ文字級数を調整していく。
|
|
|
| 5.
仕上げ |
| 文字組が完成したら「ファイル→配置」で画像を配置しする。文字色を白にしてガイドを消去すれば、出来上がり。
|
|
|

|
|
|
| *加工のテクニックはマスターできましたか?素材を返ればいろいろな場面で活用できると思いますので、是非試して下さい。
|
|
素材の組み合わせによって生み出すグラフィック 終わり
|
|
|
|